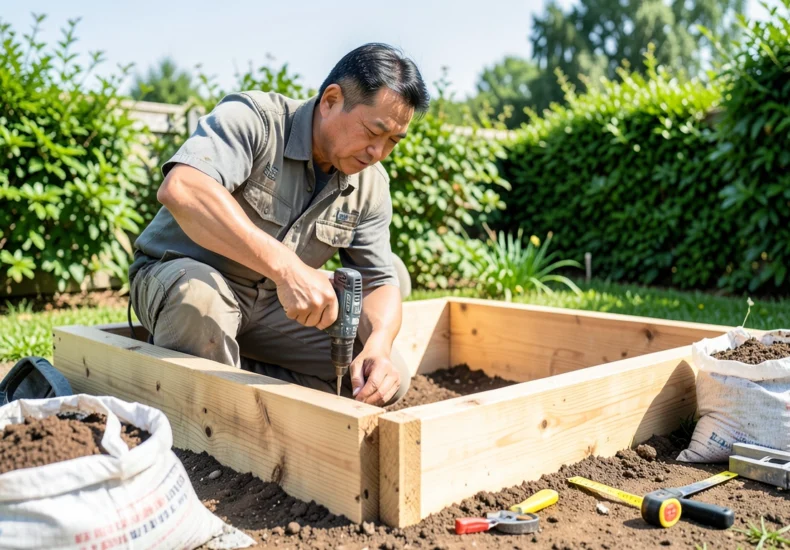
How to Build a Raised Garden Bed: Step-by-Step Guide
Building a raised garden bed transforms how you grow vegetables, herbs, and flowers. It gives you control over soil quality, drainage, and planting conditions while reducing strain on your back and knees. Whether you're dealing with poor native soil, limited space, or just want a more organized growing area, a well-built raised bed solves multiple gardening challenges at once. The construction process is straightforward enough for beginners, requires only basic tools, and can be completed in a single afternoon. Let's walk through exactly how to build a durable, productive raised garden bed from start to finish.
TL;DR
- Choose untreated cedar or redwood for natural rot resistance, or use composite lumber for a maintenance-free option that lasts years.
- Build beds 3-4 feet wide so you can reach the center from either side without stepping on the soil, and 10-12 inches deep for most vegetables.
- Line the bottom with hardware cloth to keep out burrowing pests, then fill with a mix of topsoil, compost, and other organic matter.
- Level the site and use a drill with exterior screws or galvanized brackets to assemble the frame securely for long-term stability.
Planning Your Raised Bed: Size, Location, and Materials
The planning stage determines how well your raised bed performs for years to come. Start by selecting a location that receives at least six to eight hours of direct sunlight daily if you're growing vegetables. The spot should have relatively level ground and access to water. Avoid building directly under trees, as roots will invade your bed and compete with your plants.
For dimensions, stick with a width of 3 to 4 feet. This allows you to comfortably reach the center from either side without stepping into the bed, which would compact the soil. Length is flexible based on your space, though 6 to 8 feet is common and manageable. Depth should be at least 10 to 12 inches for most vegetables, though deeper beds support root crops like carrots and parsnips better.
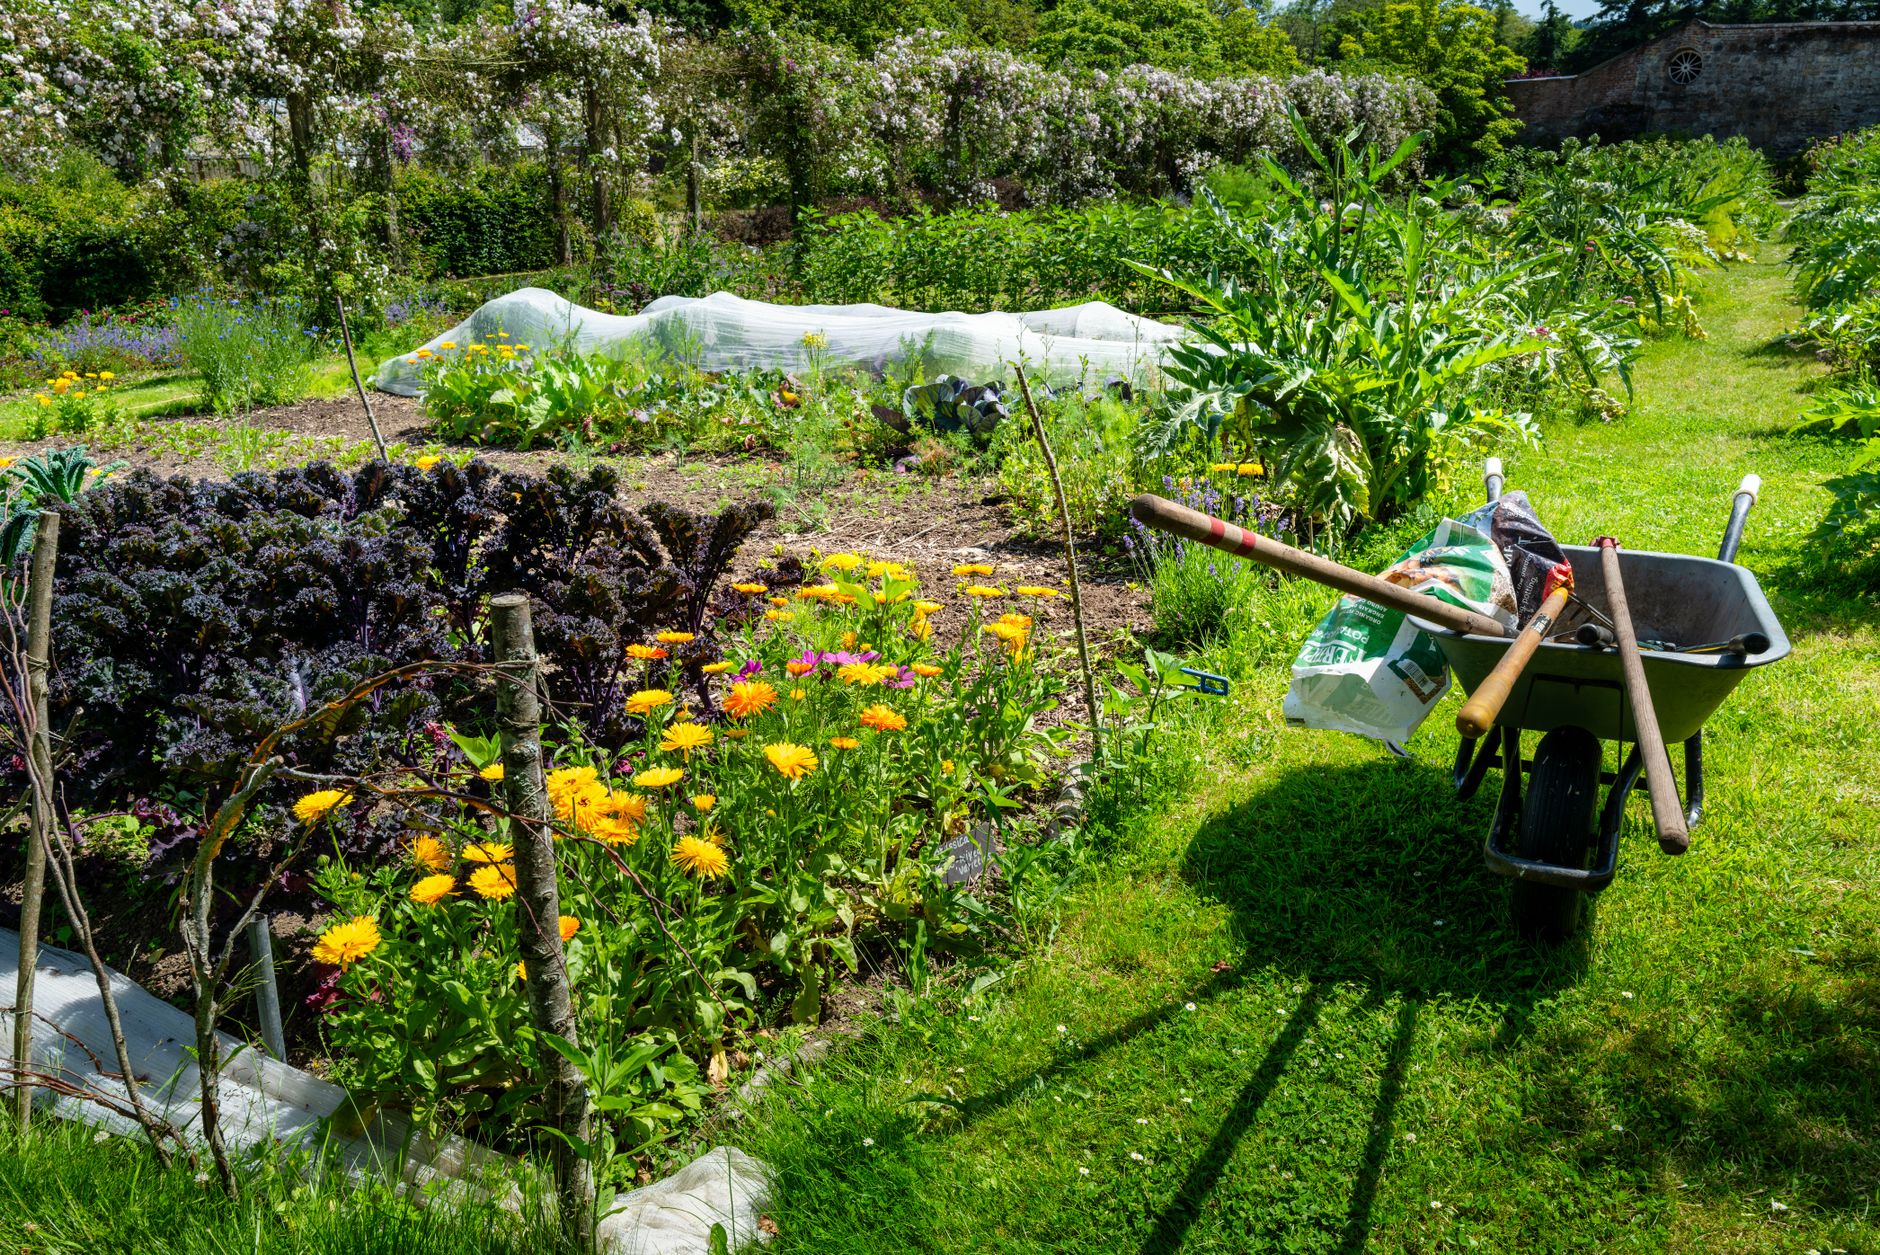
Cedar and redwood are popular lumber choices because they resist rot naturally without chemical treatment. You can also use composite boards, which last longer but cost more upfront. Avoid railroad ties or pressure-treated wood containing harmful chemicals like chromated copper arsenate. Standard dimensional lumber works well: 2x6 boards for shallow beds, or stack two 2x6s or use 2x12s for deeper growing space. Calculate your board footage based on your chosen dimensions, and don't forget corner brackets or screws.
Preparing the Site and Gathering Tools
Clear the area where you'll build. Remove grass, weeds, and debris from the footprint of your bed. You don't need to dig deep or remove all vegetation perfectly, but you want a relatively smooth, level surface. Use a rake to even out bumps and fill low spots. If the ground slopes noticeably, you'll need to level it out or adjust your frame height on the low side to keep the top of the bed level.
Gather your tools before you start cutting and assembling. You'll need a circular saw or miter saw for cutting lumber to length, a drill with bits for pilot holes and driving screws, a level to check that your frame sits evenly, a tape measure, a carpenter's square, and a pencil for marking cuts. For fasteners, use 3-inch exterior-grade deck screws or galvanized corner brackets. A staple gun comes in handy if you're attaching hardware cloth to the bottom.
Some gardeners lay down landscape fabric or cardboard at the bottom to suppress weeds, though this isn't strictly necessary. If you have issues with gophers, moles, or other burrowing animals, cut hardware cloth (half-inch mesh works well) to fit the bottom of your bed and staple it to the frame before filling. This keeps pests out while still allowing drainage.
Pro Tip
Drill pilot holes before driving screws into the ends of boards to prevent splitting, especially near corners. This simple step makes assembly cleaner and keeps your lumber from cracking as you tighten fasteners.
Cutting and Assembling the Frame
Measure and mark your lumber according to your planned dimensions. For a standard 4x8 foot bed using 2x6 boards, you'll cut two pieces at 8 feet (for the long sides) and two at 4 feet (for the short ends). Remember that the actual dimensions of a 2x6 board are closer to 1.5 by 5.5 inches, so account for this in your measurements if you're being precise about final dimensions.
Lay the boards out in a rectangle on level ground. Use a carpenter's square to check that corners form true 90-degree angles. This matters more than you might think - crooked corners create weak points and make the bed harder to fill evenly. Hold the first corner together and drill pilot holes through the face of one board into the end grain of the adjoining board. Drive your screws through these holes, using at least two screws per corner for strength.
Work your way around the frame, checking with your level as you go. The top edge should be level all the way around, even if the ground beneath isn't perfectly flat. If one corner sits higher than the others, you can dig out a bit of soil under the high spots or add shims under the low areas. Some builders prefer using metal corner brackets instead of direct screwing, which can be faster and provides solid reinforcement.
For taller beds using stacked boards, assemble the bottom rectangle first, then add the second layer on top. Stagger the seams so the joints don't line up vertically - this creates a stronger structure. Drive screws down through the top boards into the lower layer to lock everything together. Check your level frequently as you add height.
Filling Your Raised Bed With Quality Soil
The soil you put in your raised bed determines how well plants grow, so this step deserves attention. A good basic mix combines one-third topsoil, one-third compost, and one-third other organic matter like peat moss, coconut coir, or aged manure. This blend provides drainage, nutrients, and moisture retention that most vegetables need.
Calculate the volume you need by multiplying length times width times depth in feet, which gives you cubic feet. Most bagged soil products list their volume in cubic feet. For bulk delivery, you'll order in cubic yards - divide your cubic feet by 27 to convert. Bulk delivery is usually more economical for beds larger than a few cubic feet, though you'll need a place for the pile to sit while you wheelbarrow it into your frame.
Fill the bed gradually, mixing components as you go if you're combining separate materials. Don't compress the soil by packing it down or walking on it. The loose, fluffy texture supports root growth and drainage. Water the bed thoroughly after filling to help everything settle naturally. You'll likely notice the level drops a bit over the first few weeks as organic matter decomposes and soil particles settle - top it off as needed.
Add a fresh layer of compost each season to replenish nutrients and maintain soil structure. Over time, the level will continue to drop slightly as organic matter breaks down, which is normal. You can also mix in some slow-release organic fertilizer before planting to give your vegetables a strong start.
Conclusion
A well-built raised garden bed gives you years of productive growing space with minimal maintenance. The upfront investment in quality lumber and good soil pays off through better harvests, easier garden management, and the simple pleasure of working at a comfortable height. You've created a controlled environment where you determine drainage, fertility, and growing conditions rather than fighting poor native soil or competing with tree roots.
Start with one bed to get comfortable with the process, then add more as your garden plans expand. Many gardeners find that once they experience the benefits of raised beds, they convert more of their growing area over time. The basic construction skills you've learned here apply whether you're building a simple 4x8 rectangle or designing a more elaborate garden layout with multiple beds and pathways. Your plants will reward the effort with vigorous growth and abundant yields.
FAQs
How deep should a raised garden bed be for vegetables?
Most vegetables grow well in beds that are 10 to 12 inches deep, which accommodates the root systems of common crops like tomatoes, peppers, lettuce, and beans. If you plan to grow deep-rooted vegetables like carrots, parsnips, or potatoes, consider building your bed 18 inches or deeper. Shallow beds around 6 inches can work for herbs and greens with modest root systems, though deeper is generally better for moisture retention and root development.
What type of wood is best for raised garden beds?
Cedar and redwood are excellent choices because they naturally resist rot and insect damage without chemical treatment, making them safe for growing food. They typically last 10 to 15 years or more in garden conditions. Composite lumber made from recycled materials lasts even longer and requires no maintenance, though it costs more initially. Avoid old pressure-treated wood that may contain harmful preservatives, and skip railroad ties which can leach creosote into your soil.
Do I need to put anything on the bottom of a raised garden bed?
You don't strictly need a bottom layer, as most raised beds sit directly on the ground to allow drainage and let plant roots extend deeper. However, many gardeners add hardware cloth (metal mesh) on the bottom to prevent burrowing pests like gophers and moles from entering the bed from below. Landscape fabric or cardboard can suppress weeds initially, though cardboard breaks down quickly. Avoid solid barriers that would prevent drainage and create waterlogged conditions.
